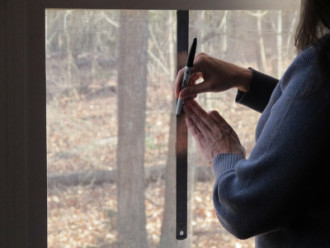
Ok, this may be more of a do as I say, not do as I do tutorial. I started off by opening the large window in the back of our living room by adding simple curtains hung high on the wall and taking out the blinds. The new light is amazing!! But the windows needed a little something. So, I had seen several tutorials around the internet but (like an idiot) decided I could work it out on my own. This is where I started . . .


I used a dry erase marker to mark and draw guidelines. This is definitely a do-NOT-do. You’ll want to work out where you want your grid lines to go, of course, but this just doesn’t work well at all.


I used 3M white vinyl electrical tape for my grid lines. And, what I didn’t count on, the vinyl is a bit stretchy so it makes following drawn lines basically impossible. I figured out pretty quickly a better way to do it. First measure where the lines should go across the top and on the side. Unroll a little more length than you’ll need as this will keep from stretching it while you put it in place. Then, carefully lay the line in place letting it fall straight before you press it in. The horizontal lines are a bit more difficult and I found that laying in one section at a time helps.


I used my thumbnail to be sure to wiggle the line into place as needed and once the lines were good and straight I used a rubber spatula to squeegee out any air-bubbles. Ahhh, one more project done and done.

FYI- I have decided to continue this on our other windows in the front of the house but I plan to create a template to make it go much faster. I’ll let you know how it goes!
* This post contains affiliate links.
-update: Hop over and see Deb’s windows, over at Seeking Lavender, turned out!
Linking up over at WOW us Wednesday , Metamorphosis Monday and The Scoop!
