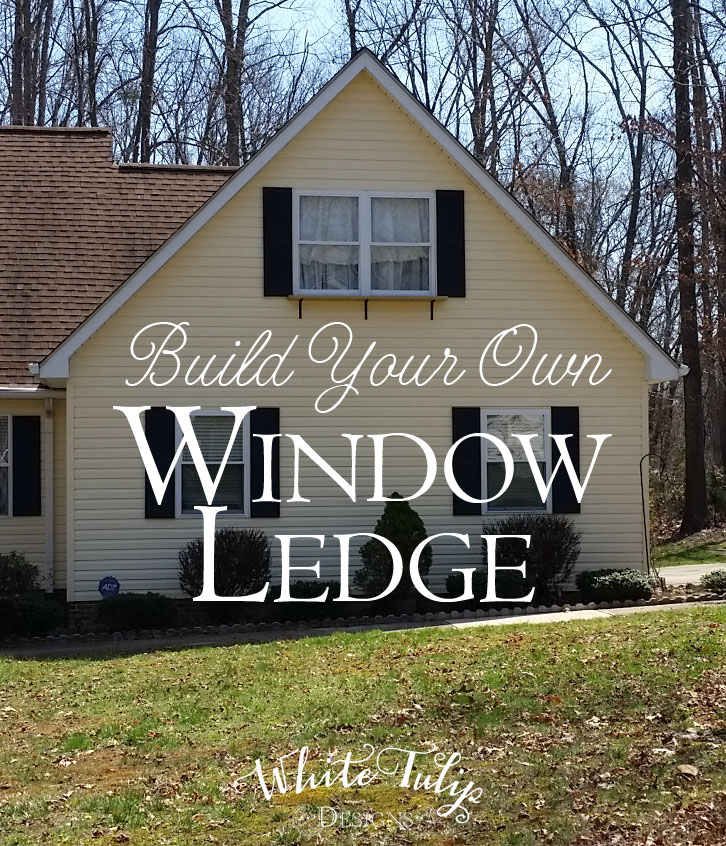
I’m so excited to finally share my new window ledge project! A few weeks back I posted a teaser pic on Instagram and this is the project I was working on. I’m also quite pleased with how the new shutters turned out! Our front yard is finally coming together. Step by step and day by day!!

It’s a fairly simple and inexpensive option as opposed to a window box. (You can read about the before process in this post!) Here’s my original inspiration from Chiots Run.
I used pre-treated decking board from the big-box hardware store (see description here). I chose not to paint or stain it as I wanted it to wear and weather naturally. Also, I had to cut it down a bit to fit just outside the borders of the window by about 2 inches on either side. To keep from having to put things together while hanging out of a window or while clinging to the top of a ladder, I to work out the arrangement of my pots first.


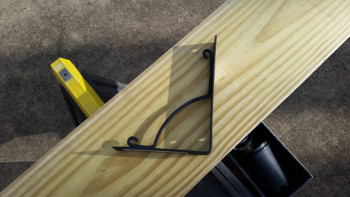
I started by setting out the Ikea brackets on top of the board and made sure they were evenly distributed from the edges. Then, using a pencil I marked where each bracket would go. Using the bracket marks as a guide, I then measured and placed my pots along the top the same way. Once I had them in place I traced around each container to be sure they went right back where they should.

Now, for the fun part! While taking special note of the layout of the pots and brackets I drilled large drainage holes along the center of the board as well as drill holes to attach the pots to the plank itself. It’s nice to be able to put guides all over the entire project and know they won’t be seen from the ground. If you’re thinking of adding a ledge on the first floor you may want to edit your guidelines a bit.

Here’s the finished ledge! (We hung the ledge just under the window so that it would be easy to add the pits and flowers.) Stay tuned for flowers!!

Thanks for stopping by! Have a lovely afternoon!
Linking up at Wow Us Wednesday

